GPU Passthrough to Windows 11 using libvirt & qemu
17 Jan 2022In my last post I installed Windows 11 in a virtual machine. But just a plain virtual machine with Windows 11 isn’t much fun, so lets give the virtual machine a GPU to play with.
Enable virtualization
First you need to enable virtualization in your UEFI settings. For Intel system it usually is called VT-x and for passthrough VT-d.
But I am running AMD, this is my hardware
- AMD Ryzen 9 3950x
- 16Gb Ram (need more…)
- Gigabyte X570 Aorus Pro
- RTX 2060
- GTX 1050ti
This is my UEFI settings
- SVM - Enabled
- Iommu - Enabled
- AES - Enabled
- AER Cap - Enabled
SVM and Iommu is to enable virtualization and passthrough, should exist on most AMD motherboards. The extra options AES and AER Cap is for the UEFI to isolate your hardware into separate iommu groups, I did not have those settings or similar settings on my old MSI B450 Mortar Max motherboard.
What is IOMMU
Modern operating system is running your software in the virtual layer (this has nothing to do with virtualization) and all your hardware are accessed through the Virtual address space.
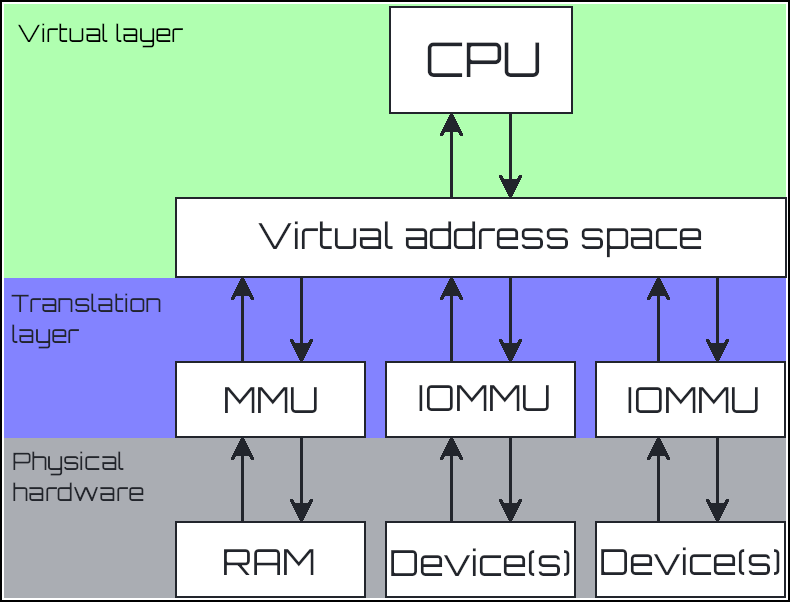
In earlier PC’s the devices was accessed through DMA - Direct Memory Access. Back then the virtual address space was only for RAM access. So the CPU actually bypassed the Virtual address space to access your hardware. This was great for performance but bad for Virtualization. So IOMMU - Input/Output Memory Management Unit was created. With the iommu the hardware devices are mapped into the same virtual address space the CPU is using for RAM.
Now the CPU doesn’t have to care about the physical address space and this is a huge benefit for passthrough of physical hardware access to virtual machines. A virtual machine is actually a box of all three of those layers, all of them are running in the virtual layer. Before iommu the virtual machine software had to emulate all hardware. But now whit iommu it is possible to directly map a physical hardware into a virtual machines virtual address space.
But there are some limitations to this, and this is why I wrote a bit about iommu groups. Multiple devices can be managed by one iommu, but they now exist in the same iommu group. The passthrough features cannot passthrough a part of an iommu group, thats why iommu groups are important.
But this can be bypassed by using the ACS patch in your Linux kernel. Very useful for homelab hacking an playing around. But I would not recommend to use it in a production enviromnent.
Verify your iommu groups
#!/bin/bash
shopt -s nullglob
for g in /sys/kernel/iommu_groups/*; do
    echo "IOMMU Group ${g##*/}:"
    for d in $g/devices/*; do
        echo -e "\t$(lspci -nns ${d##*/})"
    done;
done;
This script is from Arch WIKI - PCI passthrough via OVMF.
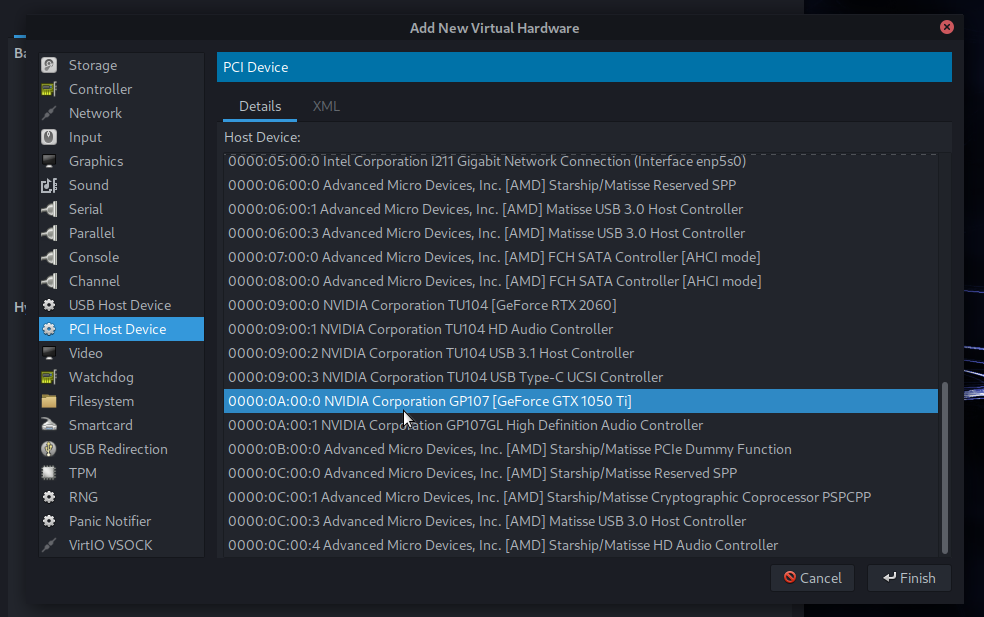
Add GPU passthrough
To much of the theoretical stuff, lets add some physical hardware to our Windows 11 virtual machine.
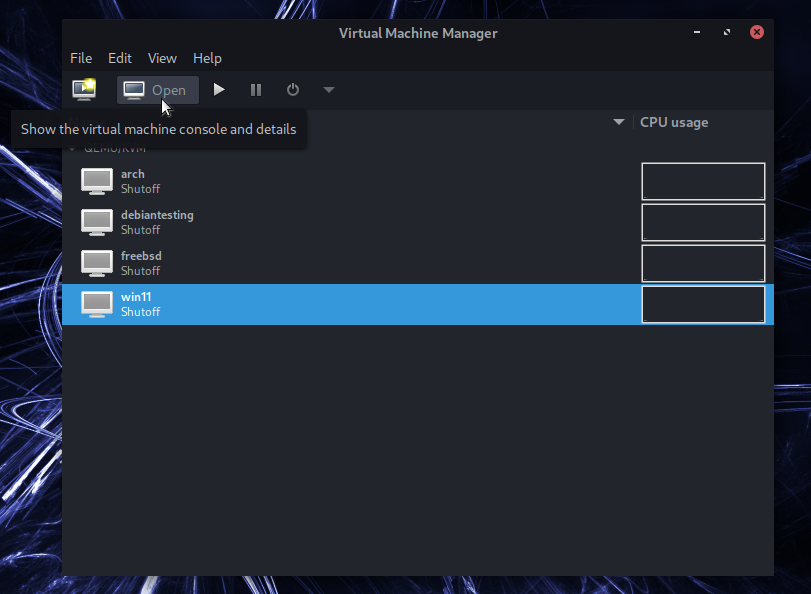
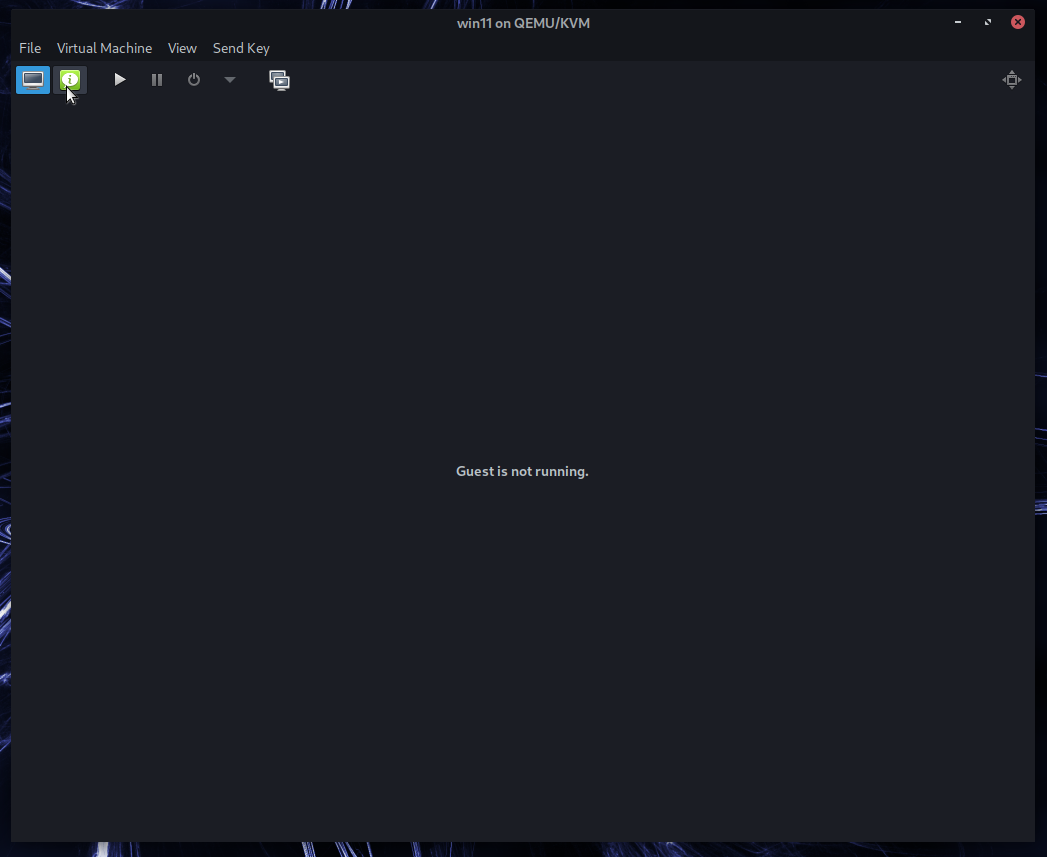
Start by opening (not starting) the virtual machine

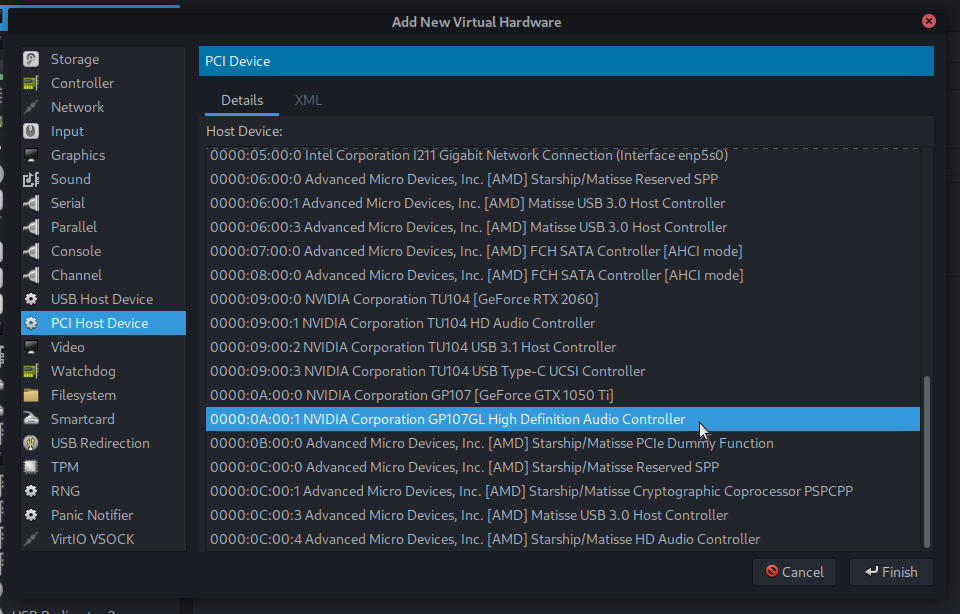
So click Add Hardware again and select PCI Host Device again. Find the Audio controllor for your GPU
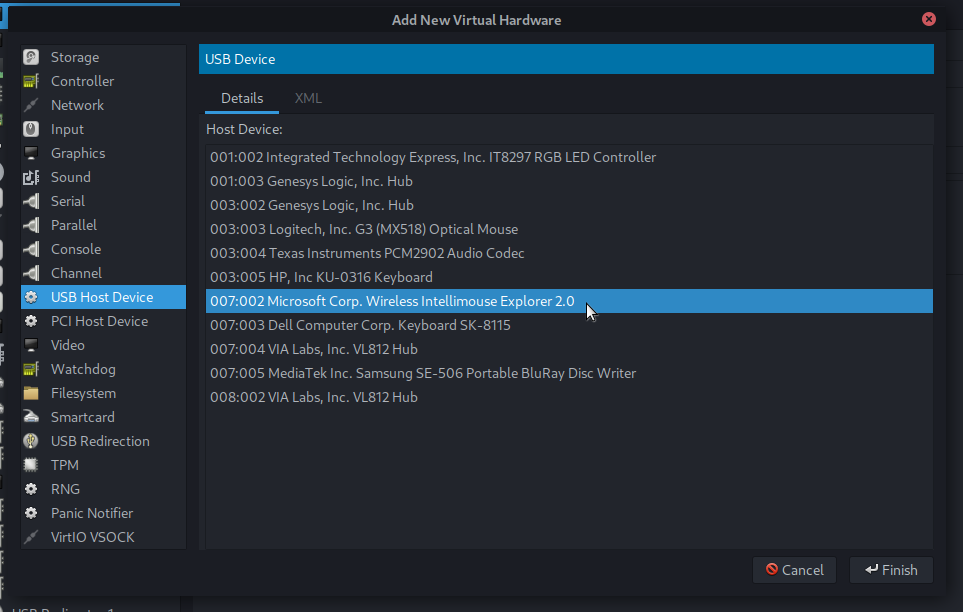
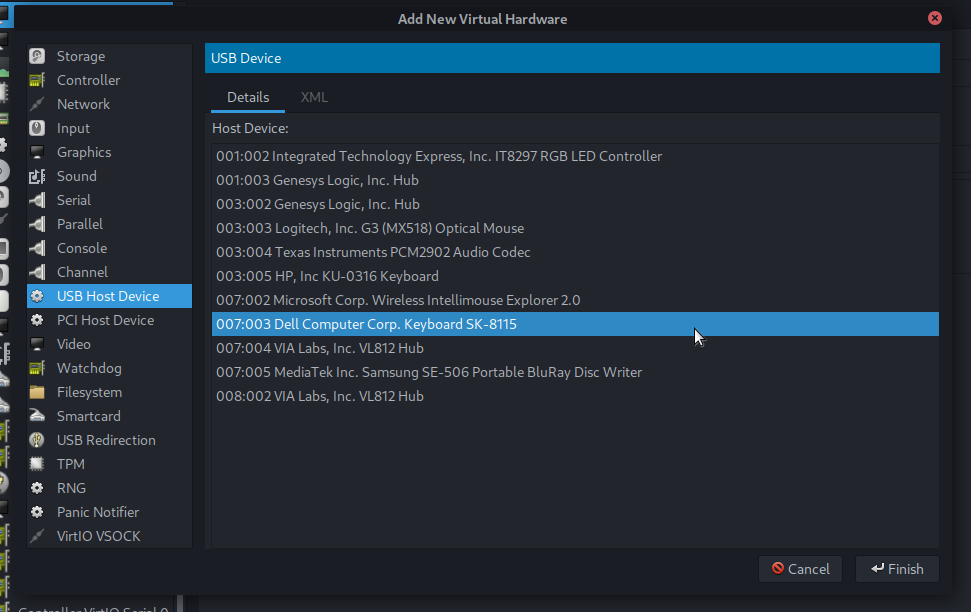
Now add mouse and keyboard, I have a second setup of mouse, keyboard and monitor to use for my virtual machines. I would recommend to passthrough an USB host controller though, this way you can plug and unplug USB devices to your virtual machine.
Add mouse
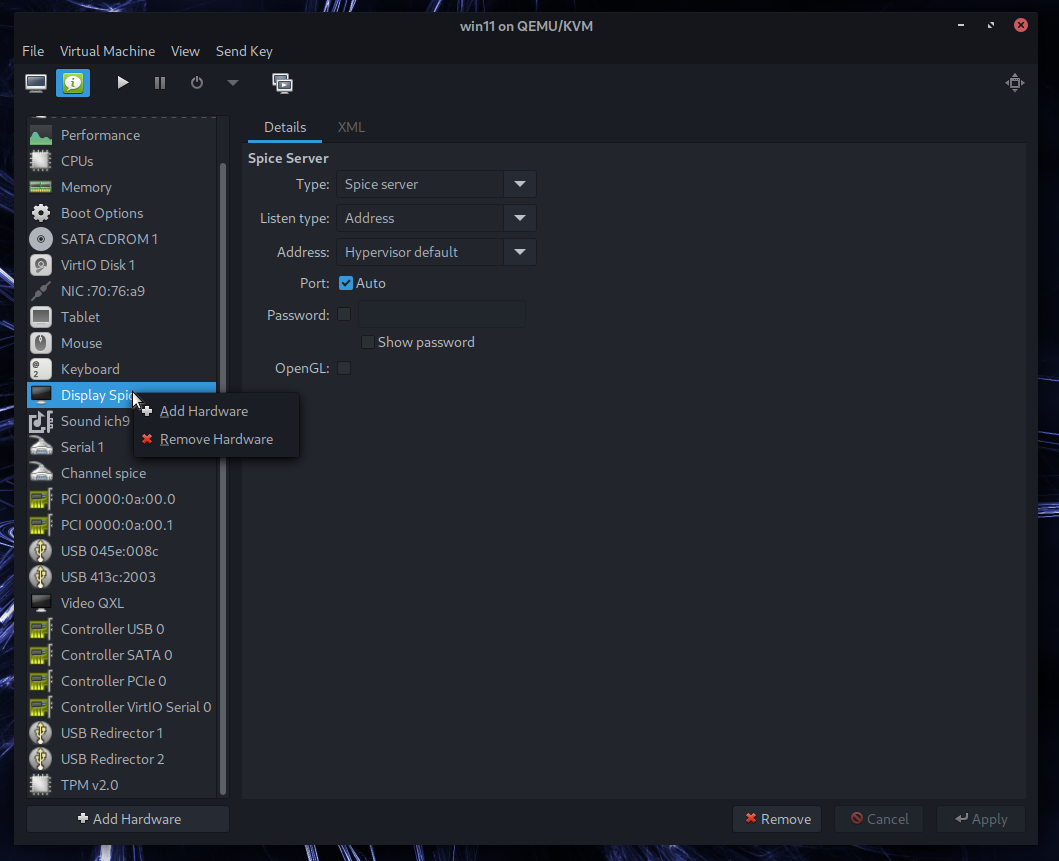
Now remove default virtual GPU
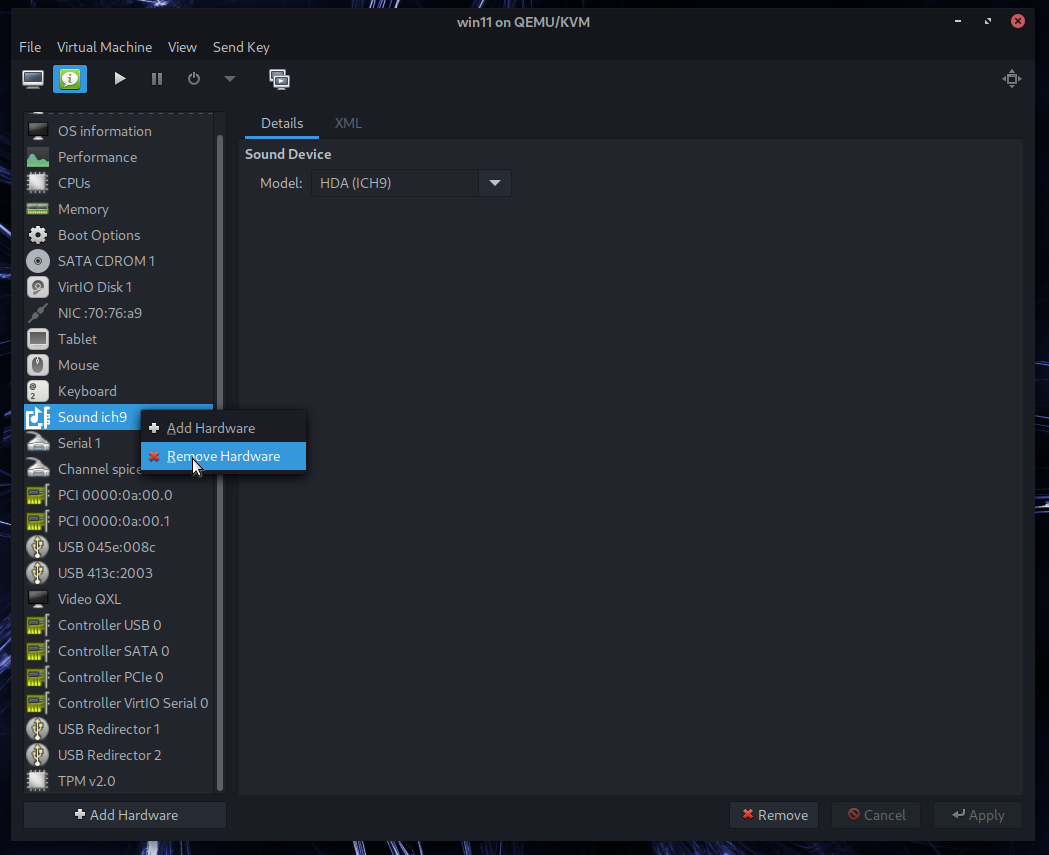
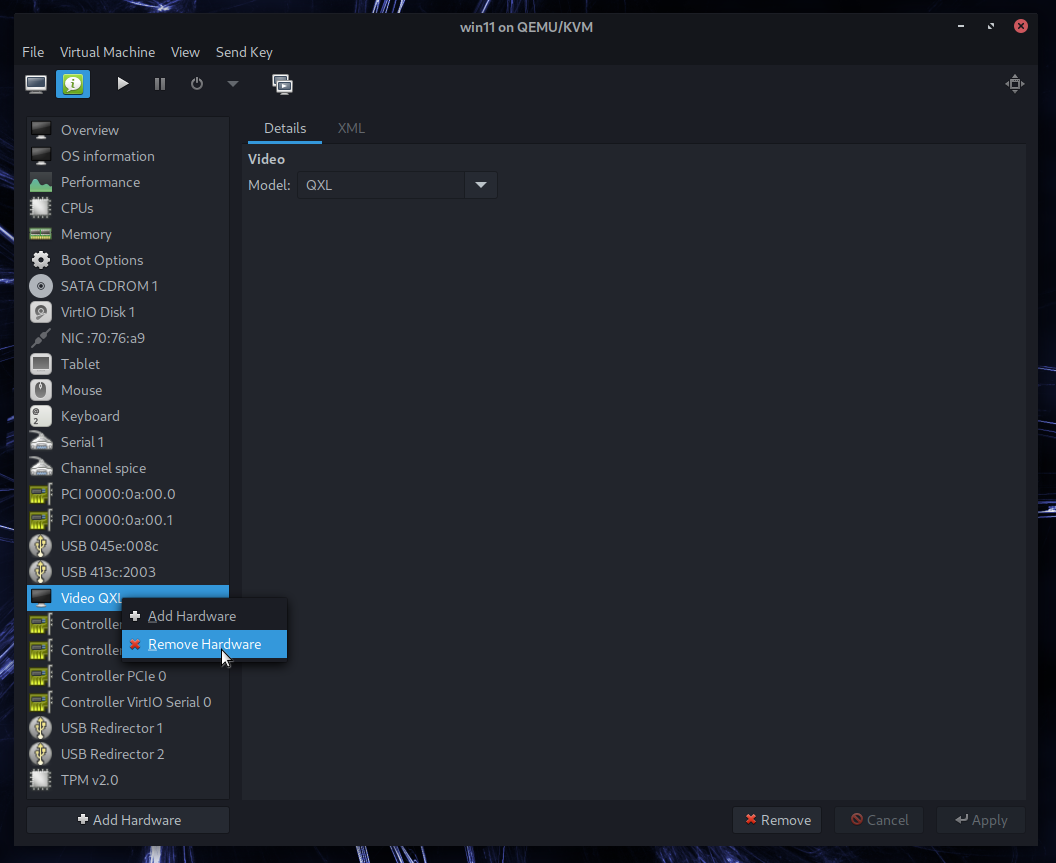
We have now added our GPU for passthrough to the virtual machine. But if we start the machine it will still be running in a window with the dedicated GPU as a secondary GPU. So lets remove the virtual hardware we no longer need
First we remove Display Spice