
Installing Debian Sid and Xanmod-cacule kernel
27 Aug 2021I have been running Manjaro Mate for a while, mostly because I had a need to try some Arch based distro. It was nice, but at the moment I like Debian more. So I’m going to use Debian Sid as my daily driver for a while. And to spice it up a bit more I will use the Xanmod kernel with the cacule scheduler.
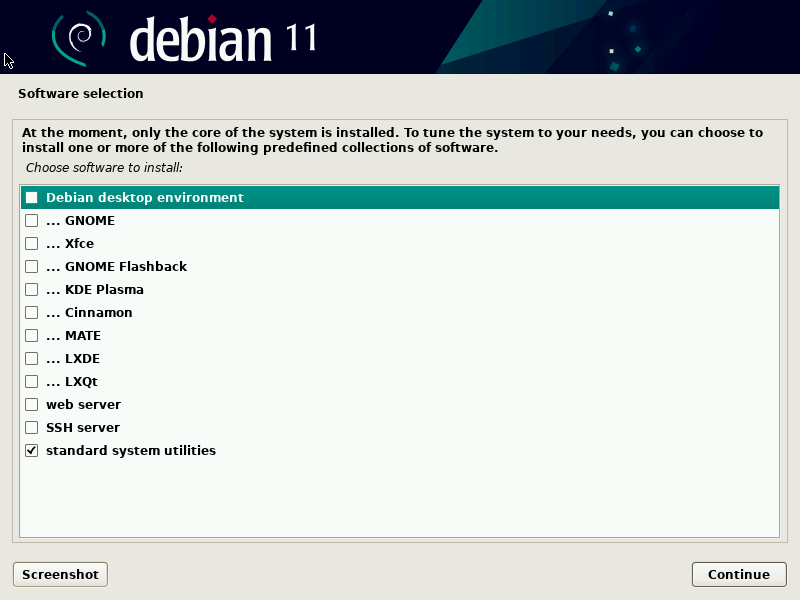
Install Debian 11
I will do a minimal install of Debian stable and then upgrade to unstable.
There are already lots of guides on how to install Debian so I will skip most of it.
First login after install
The first time I login after a fresh minimal install I will login as root and install sudo (minimal install does not install sudo)
apt-get install -y sudo
and then I will add my normal user to the sudo group
usermod -aG sudo raddinox
Upgrade to Debian Sid/Unstable
While I’m still logged in as root I will upgrade to Debian unstable. Let’s make some changes to the /etc/apt/sources.list.
# /etc/apt/sources.list

# Debian Sid/Unstable
deb http://ftp.se.debian.org/debian/ sid main contrib non-free
deb-src http://ftp.se.debian.org/debian/ sid main contrib non-free
Just remember, there is no separate security updates repository for Debian unstable. Security updates for unstable is managed through the normal package updates by the maintainers. Debian security team focus on keeping the stable branch secure.
My script I wrote to change to Debian SID
#!/bin/bash

if [[ $EUID -ne 0 ]]; then
  echo "Run script as root"
  exec sudo /bin/bash "$0" "$@"
  exit
fi

# Backup current sources.list
[[ ! -e /etc/apt/sources.list.old ]] && mv /etc/apt/{sources.list,sources.list.old}

MIRROR_URL="http://deb.debian.org/debian/"

echo " ==> Changing to SID/Unstable repo..."
echo " ==> Mirror: $MIRROR_URL"

echo "# Debian SID/Unstable" > /etc/apt/sources.list
echo "deb $MIRROR_URL sid main contrib non-free" >> /etc/apt/sources.list
echo "deb-src $MIRROR_URL sid main contrib non-free" >> /etc/apt/sources.list

apt-get update && apt-get full-upgrade
Just change the MIRROR_URL to the one you want.
After upgrade, reboot your machine and login as your user and make sure sudo works as intended.
Install Mate dekstop environment
This is the part I like the most, because I can choose what I like to install for my desktop environment and not be dependent on the Debian installer to choose for me. For example, I don’t want to have LibreOffice installed and I want to use slick-greeter and not lightdm-gtk-greeter.
This is my Mate desktop install script
#!/bin/bash
# install-mate.sh

PACKAGES="xorg"

# LightDM and slick-greeter
PACKAGES+=" lightdm slick-greeter lightdm-settings"

# Mate desktop environment
PACKAGES+=" mate-desktop-environment mate-desktop-environment-extras mate-tweak"

# Gnome icon theme for some extra basic icons.
PACKAGES+=" gnome-icon-theme"

# gvfs-fuse is needed for smb browsing in Caja
PACKAGES+=" gvfs-fuse"

# Update notifications
PACKAGES+=" package-update-indicator"

# Network manager & Network manager gnome, for systray status and
# network cable connection detection
PACKAGES+=" network-manager network-manager-gnome"

sudo apt-get install -y $PACKAGES
Network Manager
When installing a minimal install without desktop environment Network Manager isn’t installed and network is managed by ifupdown scripts. To make sure Network Manager takes control over our network card we need to change /etc/network/interfaces
# This file describes the network interfaces available on your system
# and how to activate them. For more information, see interfaces(5).

source /etc/network/interfaces.d/*

# The loopback network interface
auto lo
iface lo inet loopback

# The primary network interface
#allow-hotplug enp34s0
#iface enp34s0 inet dhcp
If we remove (or comment out) the lines for our primary network interface. The Network Manager will take control over our network card.
Nvidia drivers
Don’t forget to install your graphics drivers, I’m using a Nvidia RTX 2060 so I have this script to install my drivers with i386 support for gaming with Lutris & Steam etc.
#!/bin/bash
# install-nvidia.sh

sudo dpkg --add-architecture i386
sudo apt update
sudo apt install -y nvidia-driver nvidia-vulkan-icd
sudo apt install -y nvidia-driver-libs:i386 nvidia-vulkan-icd:i386
Reboot
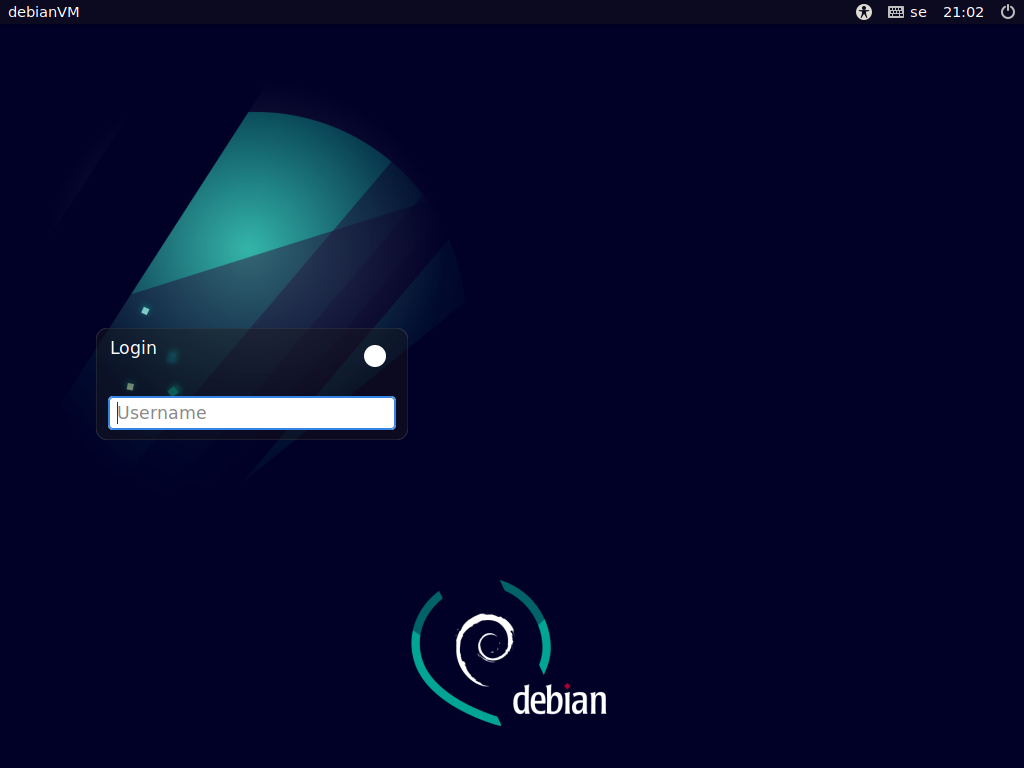
when all the packages are installed, just reboot and you will be greeted with the LightDM slick greeter

Install Xanmod-cacule kernel
The Xanmod kernel page has the instructions to download the GPG key to /etc/apt/trusted.gpg.d/ this is not the official way to install third party repository for Debian.
wget -qO - https://dl.xanmod.org/gpg.key | gpg --dearmor > /tmp/xanmod-kernel.gpg
sudo mv /tmp/xanmod-kernel.gpg /usr/share/keyrings/
so now we have the key in /usr/share/keyrings and not /etc/apt/trusted.gpg.d this way the apt-get command will not use the gpg key. So we have to specify it in the xanmod repo list file
Create the file /etc/apt/sources.list.d/xanmod-kernel.list
# /etc/apt/sources.list.d/xanmod-kernel.list
deb [signed-by=/usr/share/keyrings/xanmod-kernel.gpg] http://deb.xanmod.org releases main
Doing it this way we will make sure that the GPG key is only used for the Xanmod kernel repo and not for any other repo.
Update repository data and install xanmod-cacule kernel
sudo apt update && sudo apt install -y linux-xanmod-cacule
Nvidia drivers & Xanmod-cacule kernel
When I installed the Xanmod-cacule kernel on my desktop machine. The Nvidia drivers was complaning about the current gcc version, because it was different than the gcc version used to build the kernel. For me it was gcc-10 installed and gcc-11 was used to compile the Xanmod-cacule kernel.
I had to install gcc-11 package and then I used update-alternatives command to set the gcc symlink to gcc-11
sudo apt install -y gcc-11
sudo update-alternatives --install /usr/bin/gcc gcc /usr/bin/gcc-11 11
sudo update-alternatives --install /usr/bin/gcc gcc /usr/bin/gcc-10 10
With this utility you can change gcc version by running the following command
sudo update-alternatives --config gcc
There are 2 choices for the alternative gcc (providing /usr/bin/gcc).

  Selection    Path             Priority   Status
------------------------------------------------------------
  0            /usr/bin/gcc-11   11        auto mode
* 1            /usr/bin/gcc-10   10        manual mode
  2            /usr/bin/gcc-11   11        manual mode

Press <enter> to keep the current choice[*], or type selection number: 0
update-alternatives: using /usr/bin/gcc-11 to provide /usr/bin/gcc (gcc) in auto mode
After making sure the gcc version is correct I forced re-install of the nvidia-kernel-dkms package.
sudo apt install --reinstall nvidia-kernel-dkms
This triggers the re-building of the kernel modules for the Nvidia drivers, now with the same gcc version as the Xanmod kernel was built with.
Reboot for the last time and enjoy Debian Sid with Xanmod-cacule kernel.