
TrueNAS move zfs dataset to another server
28 Dec 2021I am moving some data from my old FreeNAS server to my new virtual TrueNAS server. I need to re-create my pool on my old FreeNAS server, so I’m moving som data to my virtual play NAS for a while.
I have no idea if it is possible to do this using the TrueNAS web GUI. I like the command line so most of the stuff will be done using the command line. And I will be logged in as root, because my FreeNAS box didn’t allow me to use sudo and zfs for some odd reason.
In short it will be
- Create snapshot of a dataset
- Send snapshot to remote server zfs pool
- delete dataset
Disable shares
Before you continue with the actual command line work, make sure your shares for the chosen dataset are disabled. Just so new data wont be written to the dataset after the snapshot has been made. You can set the dataset to be read-only if you want to be sure no data is written to the dataset.
zfs set readonly=yes zpool1/stuff
Set a zfs dataset to read-only
Create a Snapshot
First we need to create a snapshot of our source dataset we want to move. The command is zfs snapshot -r <pool>/<dataset>@<date> where <pool> is your zfs poolname an <dataset> is the dataset you want to move. And the <date> is a tag for the snapshot you are going to create, it does not have to be a date, I just like to use the date for my snapshots.
zfs snapshot -r zpool1/stuff@20211228
Create a zfs dataset snapshot
Temporary enable SSH root login
To receive the dataset on the destination server we need to enable root SSH login. I do recommend you to disable root SSH login when you are done.
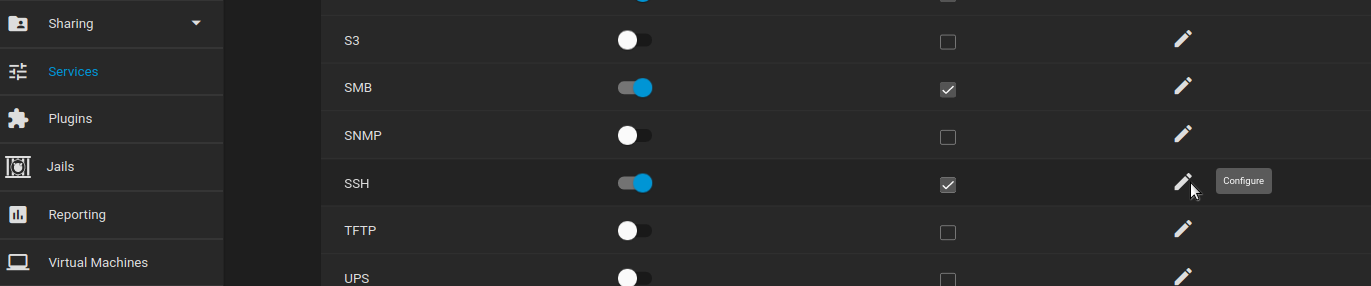
First login to your destination TrueNAS server and go to Services and fins the SSH service. Click the configure pen
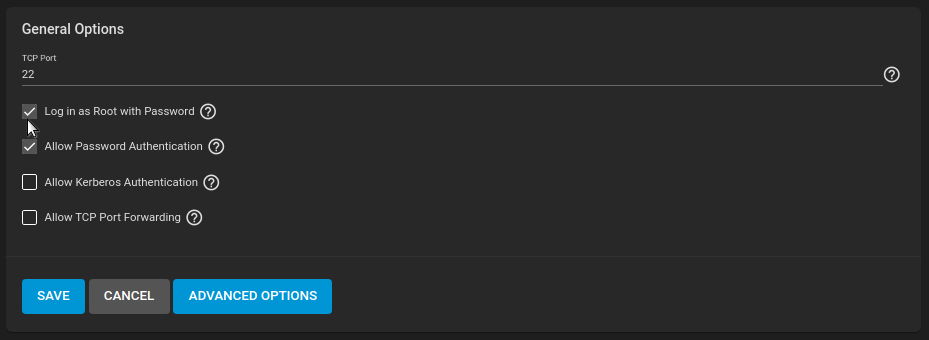
And again, Don’t forget to disable root SSH login when you are done
Finally send and receive snapshot
Now we are ready to send and receive the snapshot. The command for this is zfs send -R <src-pool>/<src-dataset>@<date> | ssh root@<dst-server> "zfs receive -F <dst-pool>/<dst-dataset>"
<src-pool>- The poolname on the source server<src-dataset>- The dataset name on the source server<date>- The snapshot tag name we created earlier (does not have to be a date)<dst-server>- The destination server hostname or IP address<dst-pool>- The poolname on the destination server<dst-dataset>- The dataset on the destination server
zfs send -R zpool1/stuff@20211228 | ssh root@nas02.home.lan "zfs receive -F zpool1/stuff"
Send and receive ZFS dataset through SSH This will take a while depending on the size of the dataset and the speed of your network.
Don’t forget to disable root SSH login.
Remove dataset from source server
When you have verified your data on the new server you can delete the dataset from the old server.